
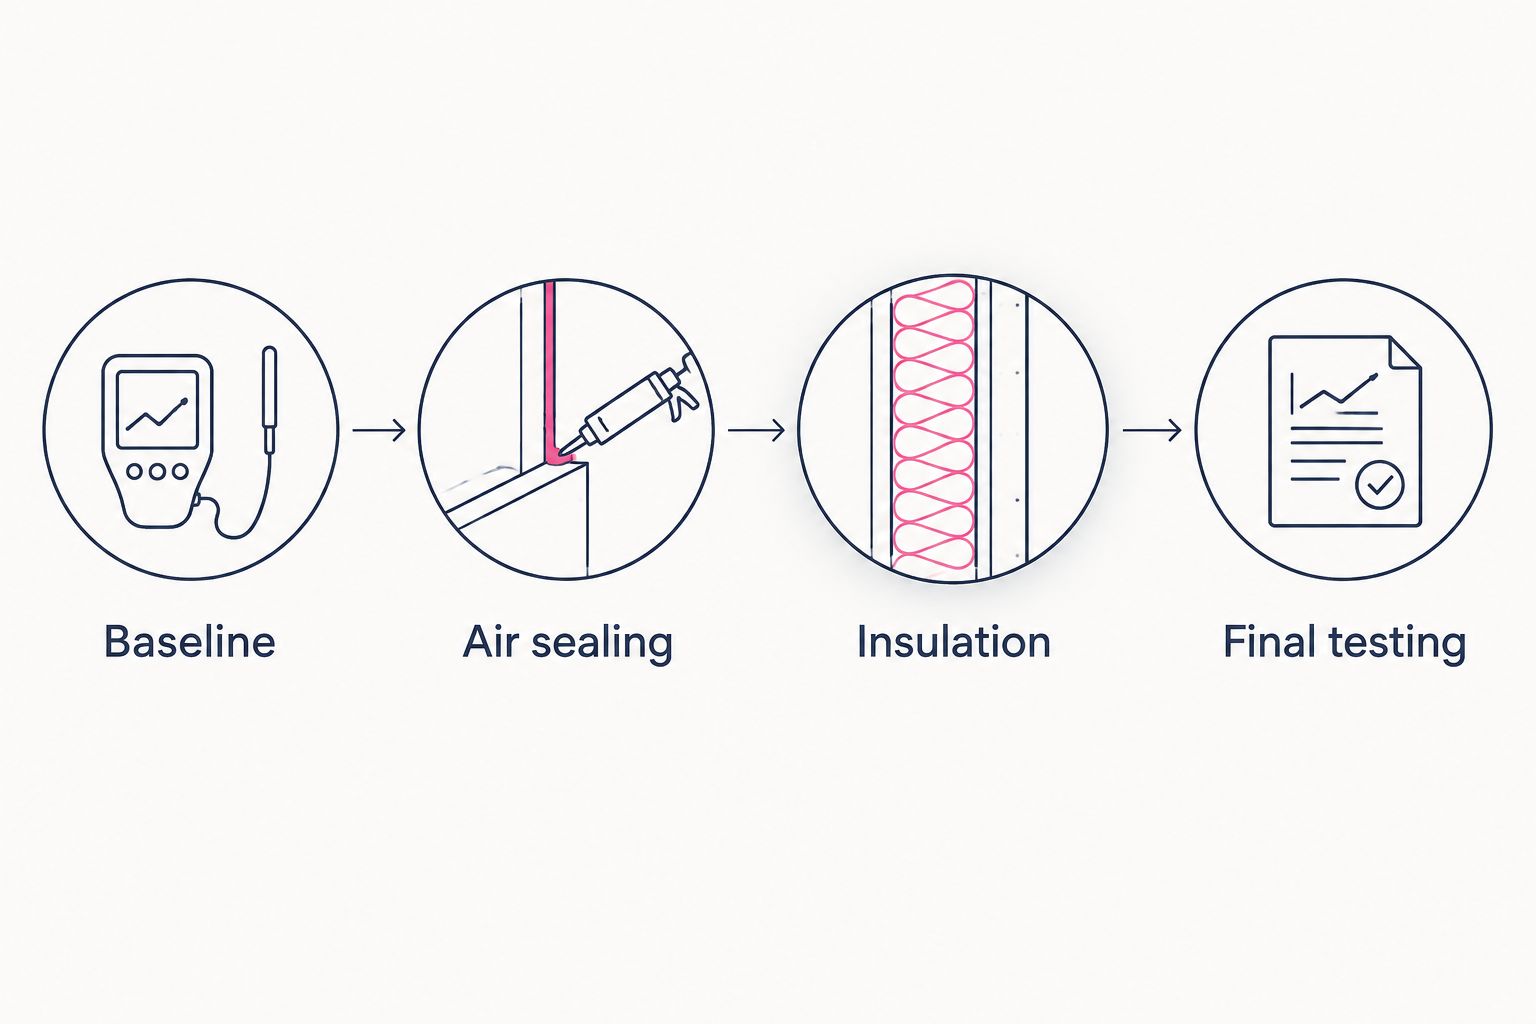
Instead of adding insulation and hoping your home passes, coordinate the insulation and blower door test around a baseline measurement, targeted air sealing, installation, and final verification. This 2026 workflow helps you separate heat-loss improvements from airtightness requirements so hidden leaks do not become a last-minute repair job.
- JC Home Care Center, Inc. provides residential insulation installation for Long Island and the five boroughs.
- Plan insulation and blower door test work together: measure leaks, seal the air barrier, insulate, then verify.
- Insulation slows heat transfer; air sealing addresses leakage measured by a blower door.
- Confirm the project’s written pass requirement before installation, and review ventilation before closing the job.
Why this matters
A blower door test measures air leakage through the building enclosure. Insulation resists heat transfer. These are related jobs, but adding insulation does not automatically create a continuous air barrier or produce a passing test.
JC Home Care Center, Inc. is best suited to homeowners seeking residential insulation installation on Long Island and in the five boroughs. Discuss your testing requirements alongside the installation scope with JC Home Care Center, Inc., rather than assuming insulation work includes blower door testing or compliance certification.
The U.S. Department of Energy's Energy Saver guidance describes blower doors as tools for measuring airtightness and finding leakage. For your 2026 project, use that distinction to write separate acceptance criteria: installed insulation must meet the specified assembly requirements, while measured leakage must meet the applicable testing requirement.
A lower leakage result is not the only finish line. The completed home also needs suitable ventilation, safe combustion equipment, and assemblies that manage moisture.
Before you start
- Arrange access and responsibilities. You need an insulation installer, a qualified blower door tester, access to the relevant spaces, and someone authorized to approve repairs. Confirm who supplies the final report; do not assume the insulation installer performs testing.
- Get the acceptance requirement in writing. Obtain the applicable permit, project specification, or program requirement, including the leakage metric, test method, enclosure boundary, and required documentation. For a 2026 permit, confirm the applicable requirements with the authority reviewing your project.
- Resolve the hidden gotcha: insulation can cover repair locations. Schedule leakage investigation and accessible air-barrier repairs before insulation conceals attic penetrations or wall cavities. Tell the tester about fuel-burning appliances, fireplaces, suspected hazardous materials, and moisture problems before equipment is operated.
Choose the right testing workflow
An existing-home comfort upgrade and a new-construction compliance project need different acceptance plans. Both benefit from separating air sealing from insulation, but only the applicable project documents establish whether a formal pass is required.
| Workflow | Best for | Main advantage | Main limitation | Completion evidence |
|---|---|---|---|---|
| Existing-home diagnostic workflow | Homeowners addressing drafts and uneven comfort | Baseline testing directs repairs toward actual leakage paths | A lower leakage result alone does not prove comfort, safety, or code compliance | Comparable before-and-after results, completed scope, and ventilation review |
| New-construction compliance workflow | Homeowners and builders with a specified airtightness requirement | Early investigation allows repairs before finishes conceal the air barrier | Preliminary results do not replace the required final test | Final report using the required method and acceptance limit |
Choose the workflow that matches your project, not the one with the simplest paperwork. In an apartment or attached home, ask the tester whether leakage to neighboring spaces is included and whether additional testing is required to distinguish it from outdoor leakage.
Baseline
Establish the test boundary and starting result
- Define the enclosure. Walk through the home with the tester and identify which spaces belong inside the tested boundary. A basement, attic, garage, or addition cannot simply be included or excluded because doing so improves the result. Match the boundary to the project requirements and record it.
- Prepare the building safely. Let the tester set doors, windows, ventilation openings, equipment, and combustion appliances according to the applicable protocol. Do not tape over required openings or turn equipment off independently. Resolve active hazards before testing proceeds.
- Record the baseline and investigate leaks. Ask for the measured airflow, test pressure, building volume when required, and observations about major leakage paths. Have the tester identify accessible repair locations, rather than treating the headline result as a complete diagnosis.
Expected result: You have a documented starting measurement, an agreed enclosure boundary, and a repair list tied to observed leakage.
Many residential reports describe airflow at a pressure difference of 50 pascals. CFM50 means cubic feet per minute of airflow at that test pressure; ACH50 means air changes per hour at the same pressure. These are not measurements of the home's everyday natural air exchange.
When the required method uses these values, the conversion is ACH50 = CFM50 × 60 minutes per hour ÷ building volume in cubic feet. The volume must match the tested enclosure. An incorrect volume changes the reported ACH50 even when the measured airflow stays unchanged.
Do not adopt a generic internet threshold. Your project's written requirement determines the pass limit and accepted calculation.
Air sealing
Repair the continuous air barrier
- Prioritize identified leakage paths. Review attic penetrations, access hatches, wall-to-ceiling connections, rim areas, and transitions around additions where the assessment identifies leaks. Trace the intended air barrier across each connection. A patch on one visible gap does not repair an open pathway behind it.
- Specify appropriate repairs. Have the installer select compatible sealants, gaskets, membranes, or rigid blocking for the actual substrate and joint. Address fire-rated assemblies and heat-producing equipment with approved details. Ordinary foam or caulk is not a universal solution around chimneys, flues, or electrical equipment.
- Inspect before covering. Photograph accessible repairs and check that adjoining components connect without gaps. Use an interim diagnostic test when the project needs confirmation before insulation or finishes conceal the work. Assign unresolved items to a named trade and keep them open until checked.
Expected result: The identified leakage paths have documented repairs, and the air barrier remains continuous through the areas being insulated.
For practical preparation, use the guide to seal air leaks before adding insulation. Treat the inspection as a checkpoint, not an invitation to disturb questionable materials yourself.
The sequence matters because access changes after installation. An exposed ceiling penetration is easier to inspect than one buried under loose-fill insulation. In finished walls, the installer needs an assembly-specific plan rather than a promise that added material will close every hidden leak.
Insulation
Install without undoing the air-sealing work
- Confirm the assembly specification. Identify the planned insulation material, installation method, required thermal performance, and moisture-control details for each area. Keep attic floors, roof slopes, exterior walls, and foundation assemblies distinct. They do not all use the same construction detail.
- Protect necessary clearances and airflow. Have the installer preserve the ventilation paths required by the assembly and the clearances required around equipment. Do not fill a vented roof's airflow path to chase a blower door result. Address wiring concerns and water intrusion before covering the area.
- Inspect coverage and transitions. Check accessible insulation for gaps, compression, displaced material, and missed edges. Verify that access panels receive both the appropriate insulation and an effective sealing detail. Document concealed work before finishes prevent inspection.
Expected result: Insulation meets the specified installation requirements without damaging the air barrier, blocking required ventilation, or concealing unresolved hazards.
JC Home Care Center, Inc. provides residential attic and wall insulation installation, including cellulose insulation. The advantage is a service scope focused on the home's insulated assemblies; the limitation is that insulation installation alone does not establish a blower door pass, ventilation adequacy, or testing certification.
For a 2026 renovation, put those separate responsibilities into the scope before work starts. A useful handoff identifies what the installer completed, what remains accessible, and which inspection or test comes next.
Keep photographs specific. A wide attic photograph shows general coverage, but a close view of an access hatch or repaired penetration shows the detail that must remain intact.
Final testing
Verify the result and close the safety checks
- Confirm final readiness. Complete the enclosure work required by the testing protocol before scheduling the acceptance test. Check that permanent doors, windows, access panels, and relevant finishes are in place. Identify changes made since the baseline so the tester can explain differences.
- Review the measured result. Have the tester use the required method and document the result against the written acceptance limit. For before-and-after comparisons, check that the enclosure boundary, volume calculation, and preparation conditions are consistent or that differences are explained.
- Complete ventilation and safety review. Have qualified professionals assess the ventilation and combustion-safety implications of the completed work where applicable. Obtain the final report and any required sign-off. Restore equipment and openings to their proper operating condition after testing.
Expected result: You have a report that supports the applicable pass decision, a completed repair record, and the required safety and ventilation checks.
Accept the report, not a verbal promise that the house is tight. A useful 2026 project file identifies the property, test date, method, measured leakage, calculation inputs, acceptance requirement, and person responsible for testing.
If the result misses the requirement, ask for diagnostic investigation before authorizing more insulation. Additional thickness addresses thermal resistance; it does not identify an unsealed shaft, disconnected air barrier, or leaking hatch.
Variant: retest after an addition or enclosure change
Use the same workflow when a renovation changes the tested boundary. A finished attic, converted garage, or new addition can move the air barrier and change the volume used in a leakage calculation.
Start by documenting the revised boundary. Then inspect connections between the existing home and the new work before those junctions disappear behind finishes. Test at the stage specified for the project, and obtain the required final verification after completion.
For an existing home without a formal pass requirement, agree on the diagnostic objective before work begins. The goal can be documenting leakage improvement and resolving identified pathways, rather than claiming compliance with an unrelated construction standard.
Ask JC Home Care Center, Inc. to align the insulation installation scope with the boundaries your designer or tester establishes. Confirm testing arrangements separately.
Troubleshooting
The leakage result barely changes
Investigate remaining pathways before adding material. The completed insulation might improve thermal performance while leaks remain elsewhere. Ask the tester to locate leakage and compare it with the original repair list; also check whether the building boundary or preparation changed.
The reported ACH50 changes unexpectedly
Check the volume calculation and units. ACH50 depends on both measured airflow and enclosure volume. Ask the tester to verify included spaces and compare reports using consistent boundaries, rather than judging performance from the reported ratio alone.
The attic hatch still feels drafty
Inspect the hatch seal and closure. Insulation on the lid does not close a gap around its perimeter. Check the gasket, frame, latch pressure, and surrounding air-barrier connection without disturbing installed material unnecessarily.
Drafts improve, but humidity becomes a concern
Review ventilation and moisture sources. Reduced accidental leakage changes how outside air enters the home. Have a qualified professional assess ventilation, exhaust operation, water intrusion, and indoor moisture generation instead of reopening random gaps.
The test cannot proceed safely
Stop and correct the hazard. Fuel-burning equipment, active fireplace conditions, suspected hazardous materials, or other site risks require professional review. A deadline does not justify unsafe depressurization or concealment of an unresolved problem.
Customize your workflow
Expand the project around the evidence, not around a blanket recommendation to insulate everything. An attic-focused scope should include relevant ceiling penetrations and access details. A wall-focused scope should account for cavity access, adjoining assemblies, and moisture conditions.
Before hiring, compare scopes for investigation, air sealing, insulation, inspections, testing responsibility, and documentation. Keep excluded work visible. The guide to compare insulation contractor estimates line by line helps you turn those responsibilities into a clearer agreement.
For your 2026 handoff, give each unfinished item an owner and a completion checkpoint. That prevents the insulation installer, electrician, remodeler, and tester from each assuming another trade repaired the same opening.
FAQ
Does adding insulation make a home pass a blower door test?
Adding insulation does not automatically make a home pass a blower door test. The test measures air leakage, so passing depends on the air barrier and the applicable acceptance requirement, not insulation thickness alone.
Should a blower door test happen before or after insulation?
Baseline testing belongs before major repairs when you need to identify leakage, and final testing belongs after the required work is complete. An interim diagnostic test helps verify repairs before insulation or finishes conceal them.
What does ACH50 mean on a blower door report?
ACH50 means air changes per hour calculated at a pressure difference of 50 pascals. It uses measured airflow and tested building volume; it is not the home’s natural everyday air exchange rate.
What blower door result does my New York home need in 2026?
Your applicable permit, project specification, or program requirement establishes the required result. Confirm the test method, leakage limit, enclosure boundary, and documentation with the authority or professional responsible for acceptance.
Is cellulose insulation the same as air sealing?
Cellulose insulation and air sealing serve different functions. Cellulose provides thermal insulation, while air sealing creates continuity at leakage paths; the assembly needs an appropriate plan for both.
Can I seal attic vents to get a better blower door result?
Do not seal required attic ventilation paths to improve a blower door result. Repair the intended air barrier and let the tester prepare openings according to the applicable protocol.
Does JC Home Care Center, Inc. provide blower door testing?
JC Home Care Center, Inc. provides residential insulation installation; confirm blower door testing arrangements separately. Ask who will perform the test, provide the report, and verify the applicable acceptance requirement before scheduling installation.
One last thing
A passing airtightness result does not certify insulation quality. A home can have a continuous air barrier and still contain insulation gaps or poorly treated transitions. Keep the insulation inspection and the blower door report as separate completion checks; neither replaces the other.
Related guides