
Instead of repeatedly opening windows to manage stale air after an attic upgrade, coordinate insulation and whole house ventilation: seal unwanted leaks, preserve the attic’s intended airflow, and have a ventilation professional commission controlled outdoor-air exchange. This guide explains how to connect those jobs without confusing roof ventilation with fresh air for your living space.
- JC Home Care Center, Inc. provides attic insulation installation for Long Island and NYC homeowners; coordinate ventilation design separately.
- Insulation and whole house ventilation work together when air sealing controls leaks and mechanical ventilation supplies planned air exchange.
- Attic vents protect a vented roof assembly; they do not provide whole-house fresh air.
- Complete moisture repairs, combustion-safety checks, and ventilation planning before covering attic-floor penetrations.
Why this matters
Insulation slows heat transfer. Air sealing limits uncontrolled airflow. Whole-house ventilation replaces indoor air through a designed system. You need those functions to work together, not substitute for one another.
For a 2026 attic project, start with the boundary between your heated rooms and the attic. In a conventional vented attic, that boundary belongs at the ceiling below. Outdoor air moves through the attic’s ventilation paths without becoming the fresh-air supply for your rooms.
JC Home Care Center, Inc. is a fit for Long Island and NYC homeowners seeking residential attic insulation installation. Its attic insulation guide for Long Island and NYC homeowners addresses that part of the project; an HVAC or ventilation professional should handle ventilation sizing and commissioning.
The insulation service addresses the thermal layer, but insulation alone does not establish a fresh-air rate. Define both scopes before work starts so neither contractor assumes the other is handling airflow.
Before you start
- Gather access and records. Arrange safe attic access, roof and ceiling information, ventilation equipment manuals, and any existing energy-audit or blower-door report. Record the location of bathroom exhausts, kitchen exhausts, outdoor-air intakes, and heating equipment.
- Assign the technical work. Have an insulation contractor assess coverage and air-sealing needs. Have a qualified HVAC or ventilation professional determine airflow, duct routes, controls, and combustion-safety requirements. Avoid stepping between attic framing members or disturbing suspect materials.
- Resolve the hidden gotcha. A bathroom duct ending inside the attic is not attic ventilation. Repair that discharge route, roof leaks, unsafe wiring, and other hazards before installing insulation; covering them makes corrections harder.
If you find vermiculite insulation, damaged electrical wiring, or suspected asbestos-containing materials, stop disturbing the area and arrange the appropriate assessment. Existing knob-and-tube wiring also needs evaluation before insulation work proceeds.
Attic boundary and moisture assessment
Establish what stays inside the conditioned space
- Identify whether the attic is vented or part of a deliberately designed unvented roof assembly. Ask the contractor to explain where the air barrier and insulation belong. Do not infer the assembly from the presence of foam alone.
- Mark the boundary on a simple house sketch. For a conventional vented attic, include ceiling penetrations, attic hatches, dropped ceilings, and openings above interior walls.
- Locate attic ductwork and equipment. Record damaged duct insulation, loose connections, and visible condensation without moving equipment or changing electrical connections.
- Check roof sheathing, insulation, and framing for moisture staining. Determine whether the source is a roof leak, indoor-air leakage, exhaust discharge, or another condition before covering the area.
Expected result: You have an agreed insulation boundary and a repair list. Everyone knows whether the attic belongs outside or inside the conditioned enclosure.
A vented attic and an unvented attic require different moisture and insulation strategies. Adding floor insulation while also treating the roofline as the thermal boundary can create a confused assembly. Have the design resolved before installation, especially around dormers, knee walls, and finished attic rooms.
Record a useful humidity baseline
For your 2026 project record, note indoor relative humidity alongside outdoor weather, shower use, cooking, and visible condensation. A humidity reading without context cannot identify the source of moisture.
The U.S. Environmental Protection Agency’s household mold guidance recommends keeping indoor relative humidity below 60%, ideally between 30% and 50%. Those are moisture-control guidelines, not ventilation-sizing instructions. During cold weather, your windows or other cold surfaces can require a lower indoor humidity level to avoid condensation.
Do not use a humidity target as the sole fan setting. Whole-house ventilation also addresses pollutants and occupied-space air exchange; a house can have acceptable humidity and still need its designed ventilation schedule.
Air sealing and attic airflow
Complete the ceiling layer before adding insulation
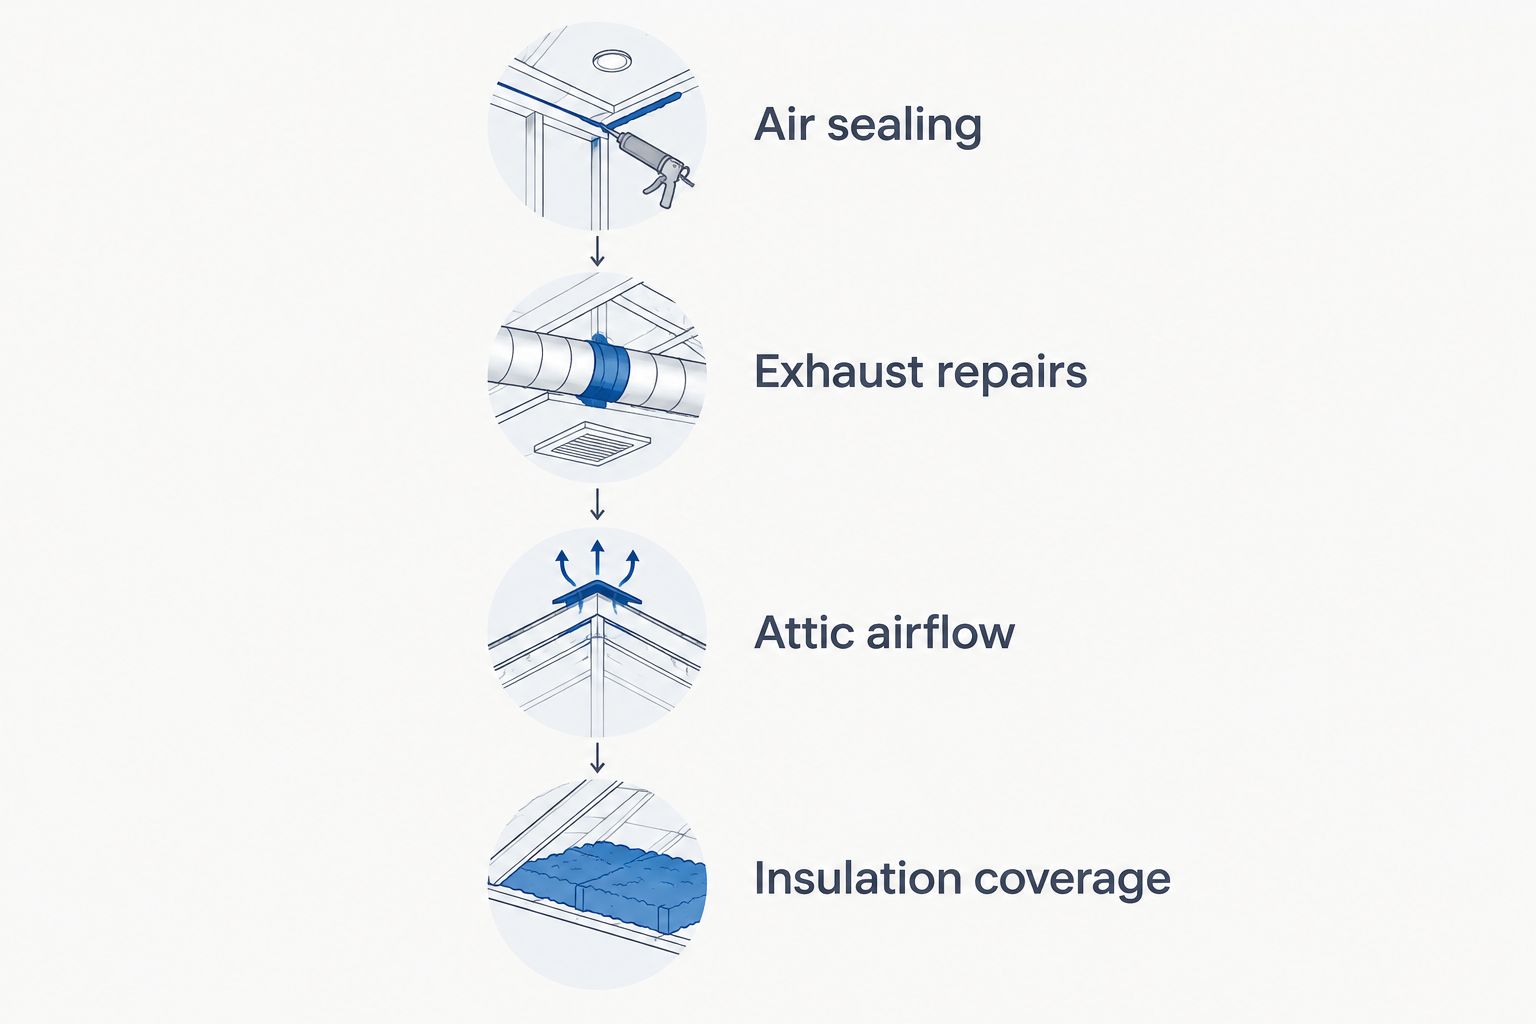
- Have the installer expose and seal accessible ceiling-plane leaks before adding insulation. Include plumbing penetrations, wiring openings, partition tops, and the attic-access frame where appropriate.
- Protect required clearances around chimneys, flues, heat-producing equipment, and recessed fixtures. Have the installer use materials and details approved for each location; ordinary foam is not a universal solution.
- Check every bathroom and other exhaust duct that crosses the attic. Have disconnected or leaking sections repaired and confirm that exhaust terminates outdoors, away from ventilation intakes as required by the installation design.
- Preserve soffit-to-attic airflow in a vented assembly. Have suitable baffles and insulation dams installed where needed so insulation does not block intake openings or spill into the eaves.
- Install insulation to the specified coverage and R-value, keeping service access and equipment clearances intact. Seal and insulate the attic hatch as part of the same boundary.
Expected result: The ceiling limits unwanted air leakage, insulation covers the intended boundary, and the vented attic retains its designed outdoor-air paths.
An attic fan is not a substitute for these details. A powered attic exhaust fan can draw conditioned air through ceiling leaks when its intake path is inadequate. More fan capacity does not repair an incomplete air barrier.
JC Home Care Center, Inc. provides residential attic and wall insulation installation. Keep its insulation scope distinct from ventilation equipment design: a completed insulation layer does not prove that ducts, fans, or outdoor-air controls deliver their specified airflow.
Whole-house ventilation configuration
Choose the airflow strategy before choosing controls
Ask the ventilation professional to select a system based on the home’s enclosure, occupancy, climate, existing equipment, and applicable requirements. Record the equipment model and design airflow in cubic feet per minute, or cfm. Do not copy a neighbor’s setting or substitute a fan’s advertised capacity for measured installed airflow.
| Ventilation approach | Best for | Main advantage | Main limitation |
|---|---|---|---|
| Exhaust-only ventilation | Homes where a designer confirms suitable replacement-air paths | Removes indoor air through designated exhaust points | Replacement air is not automatically filtered or drawn from a clean, controlled location |
| Supply-only ventilation | Homes needing a dedicated, filtered outdoor-air supply where the design permits | Controls the location of incoming outdoor air | Requires attention to pressure and cold-weather moisture behavior |
| Balanced ventilation | Homes needing planned supply and exhaust with pressure management | Provides dedicated incoming and outgoing airflow | Requires more equipment, duct planning, and balancing |
| Heat-recovery ventilator, or HRV | Balanced designs prioritizing heat recovery | Transfers heat between outgoing and incoming air streams | Does not deliberately transfer moisture like an ERV |
| Energy-recovery ventilator, or ERV | Balanced designs where moisture transfer supports the humidity strategy | Transfers heat and some moisture between air streams | Does not replace dedicated dehumidification when that is needed |
Choose the ventilation approach from the building assessment, not from the insulation material. Cellulose, fiberglass, or another insulation material does not determine the correct ventilation system by itself.
Commission the installed system
- Have the professional establish the required ventilation rate using the applicable local requirements and design method. Identify whether the system runs continuously or on a calculated intermittent schedule.
- Confirm that outdoor-air intakes draw from an appropriate location and exhaust discharges outdoors. Keep intakes away from pollutant sources and preserve the clearances required for the actual equipment.
- Have duct connections sealed, supports checked, and ducts crossing unconditioned space insulated where required. Check that insulation work has not crushed flexible ducts or covered service panels.
- Measure installed airflow at the relevant terminals and balance the system where applicable. Record the results, control settings, filter requirements, and maintenance access.
- Arrange combustion-safety and pressure checks where fuel-burning equipment or other depressurization risks require them. Coordinate kitchen exhaust and other large exhaust equipment with the ventilation design.
- Ask for a homeowner demonstration using the actual controller and manual. Learn the normal operating mode, temporary boost function if provided, filter access, and the procedure after a power interruption.
Expected result: You receive documented airflow and operating instructions, not just a running fan. Controller labels differ by equipment, so use the installed model’s manual rather than generic button names.
For a 2026 handover, keep those records with the insulation scope. Ask who is responsible for correcting airflow if later work changes duct routes or the enclosure.
Recheck ventilation whenever the enclosure changes
You also need this workflow when wall insulation, replacement windows, a finished attic, or another air-sealing project changes the house after the initial installation. The ventilation equipment can stay in place while its relationship to the enclosure changes.
- Tell the ventilation professional exactly which areas were sealed or insulated. Include changes to attic hatches, knee walls, exhaust ducts, and outdoor-air openings.
- Repeat the appropriate enclosure, airflow, and safety checks. Compare the results with the original design rather than assuming quieter drafts mean adequate ventilation.
- Review humidity patterns and equipment operation during the next heating and cooling periods. Record persistent condensation, odors, or rooms that feel stale.
- Update the operating instructions and maintenance record after adjustments.
Expected result: The ventilation system remains matched to the changed building, rather than operating indefinitely on old assumptions.
A ceiling-mounted whole-house cooling fan is a separate case. It draws outdoor air through open windows and exhausts through the attic for cooling under suitable conditions. It is not interchangeable with a commissioned whole-house ventilation system. Its attic exhaust capacity, operating instructions, and insulated closure need their own review.
Troubleshooting
Attic condensation remains after insulation
Do not immediately add a stronger attic fan. Have the contractor check ceiling leaks, bathroom exhaust discharge, blocked vent paths, roof leaks, and indoor moisture sources. Correct the cause before replacing wet material or covering stained framing.
Rooms feel stale despite acceptable humidity
Verify that the whole-house ventilation system is operating on its designed schedule. Have filters, intakes, dampers, duct restrictions, and delivered airflow checked. A normal humidity reading does not establish adequate outdoor-air delivery.
Winter air becomes uncomfortably dry
Ask the ventilation professional to verify airflow and control settings against the design. Uncontrolled leakage and excess ventilation both deserve investigation. Do not shut ventilation off or add humidification without checking condensation risk and the home’s moisture strategy.
A fan runs, but airflow is weak
Have the system checked for crushed ducts, restrictive fittings, blocked exterior terminals, dirty filters, or malfunctioning dampers. Confirm airflow by measurement; motor noise is not evidence that the intended volume reaches the rooms.
Exhaust operation causes combustion concerns
If a carbon monoxide alarm sounds, leave the building and contact emergency services. For suspected backdrafting or persistent combustion odors, stop the affected equipment when safe and arrange qualified inspection. Do not experiment with window positions as a permanent safety fix.
Customize your workflow
Build your 2026 scope around the whole enclosure. A cold bedroom beneath the attic needs a different investigation from a damp basement, and ventilation cannot compensate for missing insulation or an active water leak.
Start with the home energy audit-to-attic insulation workflow when you need to connect comfort complaints, inspection findings, and installation priorities. Ask for separate documentation of insulation coverage, air-sealing work, and ventilation commissioning.
For JC Home Care Center, Inc. insulation work, identify the rooms affected, the attic boundary, and any exhaust or duct conflicts before installation. Have your ventilation professional coordinate the airflow scope rather than leaving that decision until the insulation is complete.
FAQ
How do insulation and whole house ventilation work together?
Insulation limits heat transfer, air sealing limits uncontrolled leakage, and whole-house ventilation provides planned air exchange. Coordinate the enclosure work with ventilation design and measured airflow rather than relying on drafts.
Do attic vents bring fresh air into my house?
Attic vents do not provide designed fresh air to your living space. In a vented attic, they move outdoor air through the roof assembly while the ceiling below separates that air from occupied rooms.
Do I need an HRV or ERV after adding attic insulation?
Adding attic insulation does not automatically require an HRV or ERV. A ventilation professional should assess enclosure leakage, occupancy, moisture needs, and applicable requirements before selecting equipment.
Can I connect my bathroom fan to an attic vent?
A bathroom fan needs a proper outdoor exhaust termination, not a discharge into the attic. Have the duct route and termination reviewed so moisture does not collect in the roof space.
Is a whole-house cooling fan the same as whole-house ventilation?
A whole-house cooling fan is not the same as a designed whole-house ventilation system. It usually draws air through open windows for cooling and requires suitable attic exhaust paths and an effective closure when inactive.
What indoor humidity should I aim for after insulating?
EPA household mold guidance recommends indoor relative humidity below 60%, ideally between 30% and 50%. Cold surfaces can require lower humidity in winter, and humidity alone does not determine the correct ventilation rate.
Who should handle insulation and ventilation coordination?
Use an insulation contractor for the thermal layer and a qualified HVAC or ventilation professional for airflow design and commissioning. JC Home Care Center, Inc. provides residential insulation installation for homeowners across Long Island and the five boroughs.
One last thing
A running fan is not a completed ventilation job. Before closing your 2026 project, ask for the measured airflow, the intended operating schedule, and a demonstration of normal operation. Those records let the next contractor preserve the system instead of guessing how it was supposed to work.
Related guides
- How to seal air leaks before adding insulation
- How to insulate an attic with existing ductwork
- How to insulate an attic with a whole-house fan