
Production home builders’ insulation is a coordinated approach to insulating repeated home designs with the aim of delivering consistent comfort and meeting each project’s approved energy requirements. This 2026 guide explains how to turn insulation details into repeatable scopes, trade handoffs, and checks before drywall hides the work.
- Insulation for production home builders needs repeatable air sealing, clear assembly details, and pre-drywall checks—not just material selection.
- JC Home Care Center, Inc. provides residential insulation installation for homeowners across Long Island and New York City.
- Approve wall insulation and attic insulation details before repeating them across a development.
- Choose materials by assembly, access, and installation requirements; no single insulation type fits every location.
Why insulation matters for production home builders
A production builder needs an insulation detail that works across repeated floor plans, changing crews, and buyer-selected options. A bonus room, dormer, or garage configuration changes the surfaces separating conditioned space from outdoor or unconditioned areas. Treat those variations as separate details, not field improvisations.
Standardize the installation method, not just the material name. An insulation specification needs to explain where the material goes, how it meets the air barrier, and what must remain accessible for inspection. The batt insulation guide for new construction provides related context for open framing.
For a 2026 project, confirm the applicable code requirements and approved plans with the design team and local authority. Do not copy an insulation schedule from another jurisdiction or assume that a material’s labeled R-value proves the completed assembly complies.
The same discipline protects homeowner comfort. Insulation resists heat flow; air sealing limits uncontrolled air movement. Both need a defined scope, and neither replaces moisture management or required ventilation.
How to plan insulation across repeated home designs
Define the insulated boundary for every model
Start with printed plans and a highlighter. Trace the surfaces separating heated and cooled rooms from the outdoors, the ground, and unconditioned spaces. A manual markup is enough to expose missing details before procurement begins.
Pay particular attention to rooms over garages, knee walls, attic access openings, stair transitions, and changes in roof geometry. These locations need a clear connection between insulation and the air barrier. A cavity filled with insulation does not solve an open connection to an attic.
Create 1 boundary checklist per model, with separate entries for options that change the enclosure. This is a planning recommendation, not a substitute for the approved construction documents. Keep the checklist with the model’s current plan revision so the field team does not work from an obsolete detail.
- Mark every exterior wall, roof, ceiling, and exposed floor assembly.
- Identify garages, vented attics, and other unconditioned spaces.
- Show the air barrier at assembly transitions.
- Add separate details for buyer-selected enclosure changes.
- Assign responsibility for resolving unclear boundaries.
Write an assembly-specific insulation schedule
Build a simple spreadsheet before requesting bids. List each assembly, the specified material, the required thermal performance, and the installation detail. Include the source drawing so a superintendent can connect the schedule to the plans.
Separate cavity insulation from continuous insulation. They address different parts of an assembly, and framing conducts heat differently from the insulation between framing members. Avoid treating a cavity material’s R-value as the performance of the entire wall.
For your 2026 schedule, have the designer identify the required vapor-control approach and any protective coverings or clearances. Do not add a vapor retarder by habit: its placement depends on the assembly and applicable requirements. Product instructions also need to match the specified use.
- Record the material and required R-value for each assembly.
- Separate cavity and continuous insulation entries.
- Reference air-sealing and vapor-control details.
- Identify ventilation paths that must remain open.
- Require written approval for material substitutions.
Assign each task before requesting installation support
Begin with a responsibility list that your superintendent can maintain without special software. Name who seals penetrations, installs backing, prepares attic ventilation details, corrects framing conflicts, and releases the area for insulation. Unassigned tasks become unresolved gaps between trades.
Professional installation support is useful once the assembly and responsibilities are clear. JC Home Care Center, Inc. provides residential insulation installation, including wall, attic, and cellulose insulation, across Long Island and the five boroughs. JC Home Care Center, Inc. is best suited to homeowners seeking local residential insulation installation.
For a production-building project, confirm the proposed scope, scheduling arrangements, inspection responsibilities, and project fit directly before awarding work. A residential service description does not establish development-scale capacity, testing services, or contractual commitments.
- Assign an owner to each air-sealing and insulation task.
- Identify preparation work excluded from the insulation scope.
- Confirm which assemblies the installer will address.
- Agree on inspection access and correction responsibilities.
- Record project-specific scheduling requirements in writing.
Sequence work around three inspection checkpoints
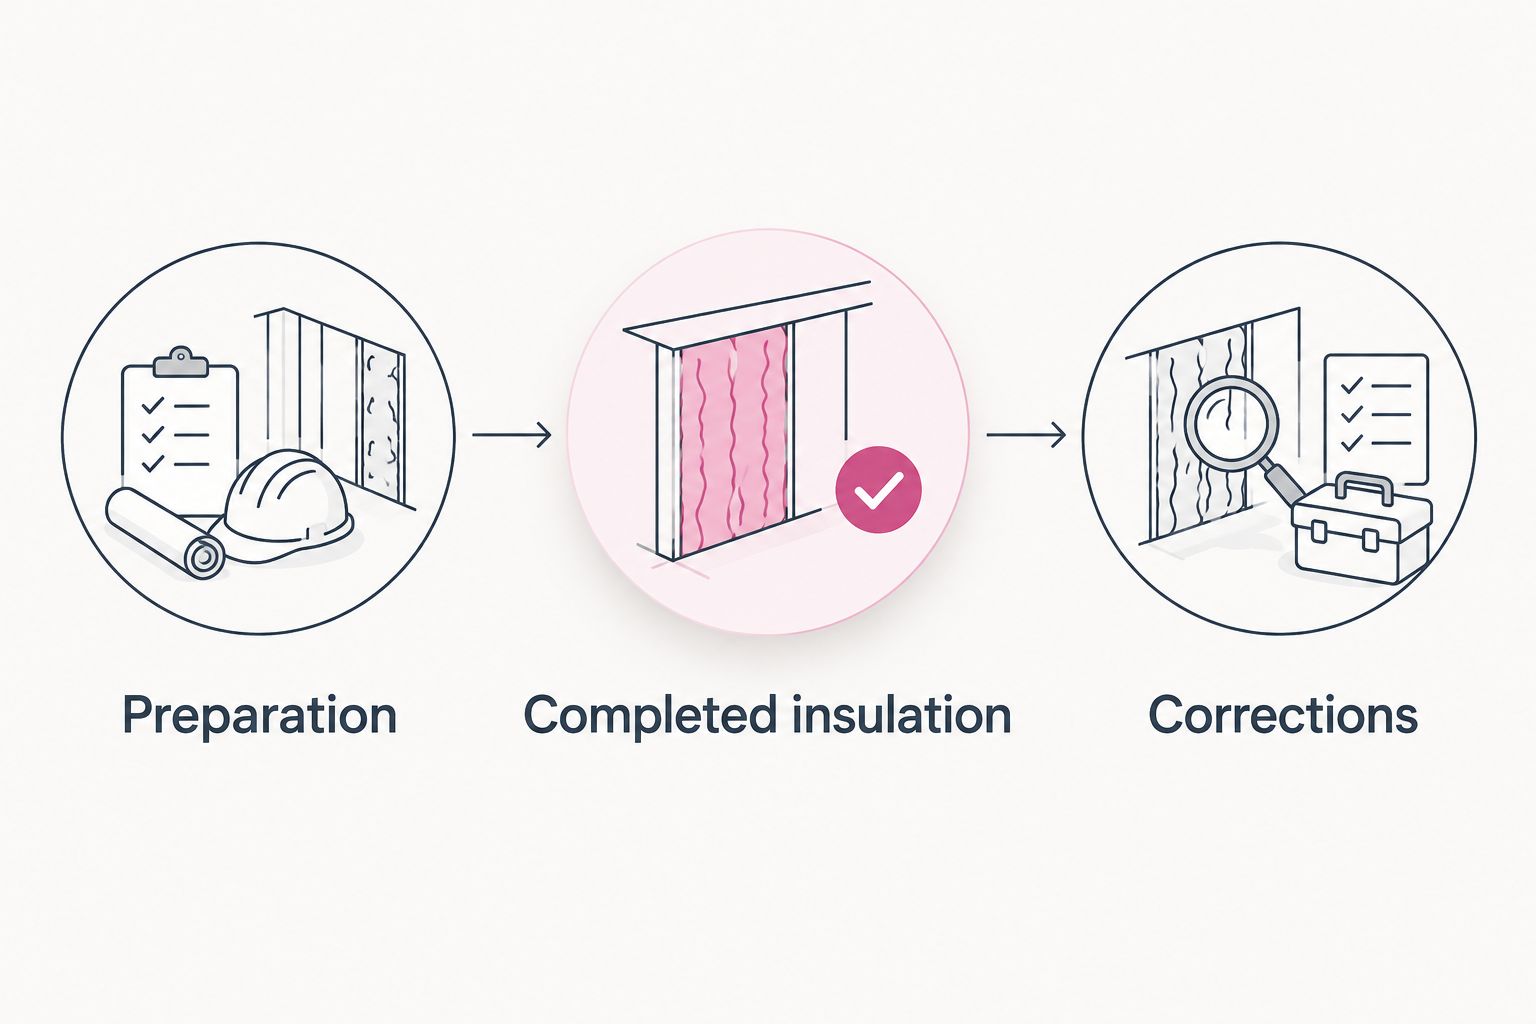
Use the construction schedule to establish 3 inspection checkpoints: preparation, completed insulation, and corrections after later trade access. These are recommended quality-control stages; required municipal inspections remain separate.
At preparation, check that the work area is ready and the specified air barrier is accessible. At completed insulation, inspect coverage before finishes conceal the assembly. After subsequent trade work, verify that insulation and sealing have not been displaced or left unfinished.
Do not release drywall simply because insulation delivery is complete. Release it when the required inspections and documented corrections are complete. Sequence attic work according to the approved assembly and safe access, rather than assuming every attic follows the wall-insulation schedule.
- Confirm required rough-in approvals before covering work.
- Check that leaks or wet materials have been addressed.
- Inspect air sealing before it becomes inaccessible.
- Verify insulation coverage before wall closure.
- Recheck areas disturbed by later trade access.
The inspection sequence connects preparation to the final release decision. Keep each checkpoint visible on the same schedule the superintendent uses for trade handoffs.
Approve a first installation before repeating it
Inspect the first completed example of each materially different assembly. A first wall cavity does not establish the installation standard for a sloped ceiling, attic hatch, or floor over a garage. Use approved details and manufacturer instructions as the acceptance criteria.
For batt insulation, check fit around obstructions and full contact where the specified assembly requires it. Avoid gaps, folds, and compression that compromises the intended installation. For blown or sprayed materials, check the product-specific requirements rather than borrowing acceptance criteria from batts.
Keep 2 photo sets per reviewed assembly: one before insulation conceals air-sealing details and one after installation. This recommended documentation gives crews a reference, but photographs do not replace measurements, inspections, or required testing.
- Review a representative example of each assembly type.
- Compare installation with the approved detail.
- Photograph concealed preparation and completed coverage.
- Record deficiencies and the accepted correction.
- Share the accepted example with incoming crews.
Compare bids against the same written scope
Start with a side-by-side spreadsheet. Compare coverage, preparation, material specifications, exclusions, and correction obligations before comparing commercial terms. Two proposals describing exterior walls and attics can still assign very different responsibilities.
Use the guide to comparing insulation contractor estimates to organize your questions. Ask bidders to identify assumptions about access, site readiness, material substitutions, and return visits. A clear exclusion is manageable; an unspoken exclusion creates a dispute.
For your 2026 bid package, keep thermal insulation and acoustic work separate. Insulation can contribute to sound control, but a shared-wall assembly also depends on its construction, penetrations, and connections. Do not accept a thermal insulation specification as proof of an acoustic rating.
- Give every bidder the same drawings and revision date.
- Request assembly-by-assembly scope descriptions.
- Separate insulation, air sealing, and sound-control work.
- Identify testing and documentation responsibilities.
- Clarify how changes and corrective work are authorized.
Close out each home with a usable installation record
Use a folder organized by lot and model rather than relying on messages scattered across phones. Save the approved insulation schedule, accepted substitutions, inspection records, and photographs. A repeated model still needs a home-specific record because field conditions and selected options differ.
Record installed products and relevant documentation without promising energy savings that have not been established. Homeowners need clear information about their home's assemblies, not an unsupported claim about future utility bills.
JC Home Care Center, Inc. offers residential insulation installation and soundproofing services. When discussing homeowner-facing work, keep the distinction between thermal comfort and sound control explicit. For builder closeout, document the actual scope installed rather than describing every insulated assembly as soundproof.
- Save the final insulation schedule for the individual home.
- Record approved substitutions and their locations.
- Retain required inspection and test documentation.
- Include photographs of concealed details where available.
- Provide relevant product care and access instructions.
Compare insulation options by assembly
Choose the assembly first and the material second. The options below describe common material uses, not confirmed offerings from any particular contractor. Have the designer and installer verify suitability against the approved plans and product instructions.
No option eliminates the need for proper detailing. Fibrous insulation generally needs a separate air-control strategy; foam products also require attention to joints, surrounding materials, and applicable protection requirements.
| Option | Best for | Practical advantage | Key limitation |
|---|---|---|---|
| Fiberglass batts | Open, accessible framing with a separate air barrier | Crews can inspect placement before closure | Gaps, poor cuts, and compression compromise installation quality |
| Mineral wool batts | Specified open cavities where fit and acoustic absorption matter | Fits within framed cavities and contributes to sound absorption | Does not make an assembly airtight or establish a sound rating alone |
| Blown cellulose | Attics or suitable cavities using a specified installation method | Fills spaces that are awkward for pre-cut batts | Coverage, installed density, and moisture conditions require attention |
| Rigid foam board | Designed continuous-insulation assemblies | Can reduce heat flow through framing when detailed continuously | Joints, flashing, attachment, and protective coverings need coordination |
| Spray foam | Assemblies specifically designed for the selected foam system | Certain systems combine insulation with air-control functions | Installation conditions, ventilation, and protection requirements need specialist planning |
For a cellulose installation, confirm whether the specification calls for loose fill or a cavity application. Those are different installation methods. For spray foam, identify the specific system rather than treating all foams as interchangeable.
The useful comparison is therefore not which material wins everywhere. It is which material can be installed and verified correctly in the assembly you are building.
Common mistakes production home builders make
Reusing one detail across every buyer option
A standard model detail does not automatically cover an added dormer, vaulted ceiling, or conditioned room above a garage. Those changes alter enclosure geometry and trade access.
Require an insulation-detail review whenever an option changes the conditioned boundary. Add the approved variation to the model checklist before crews start work, not after an inspection identifies the omission.
Treating cavity fill as completed air sealing
Insulation and air sealing solve different problems. Filling a wall cavity with fibrous insulation does not seal the perimeter, penetrations, or connections to adjacent assemblies.
Make air-barrier continuity an acceptance item. Require the responsible trade to complete and document that work while the relevant surfaces remain accessible.
Letting later trades undo accepted work
An installation can pass an initial review and then be disturbed by wiring, plumbing, or another correction. The first acceptance does not verify the condition immediately before closure.
Keep the post-access checkpoint in the schedule. Ask each returning trade to flag disturbed insulation or sealing, and assign responsibility for restoring the approved detail.
Confusing thermal performance with sound isolation
A wall with insulation is not automatically a soundproof wall. Sound also travels through openings, structural connections, doors, and other paths.
Separate sound-control details from the thermal schedule. When a project specifies an acoustic rating, use the required assembly and verification process rather than substituting a material claim.
FAQ
What is the best insulation for production home builders?
The best insulation for production home builders is the material specified for each approved assembly and installed consistently. Select by location, air-barrier design, moisture requirements, and inspection access rather than choosing one material for the entire development.
Should production builders choose batts or blown insulation?
Choose batts or blown insulation according to the assembly and installation access. Batts suit accessible framed cavities, while blown materials serve suitable attics and cavity applications using the specified installation method.
Does insulation replace air sealing in a new home?
Insulation does not automatically replace air sealing. Define the air barrier separately and verify connections, penetrations, and transitions, even when the selected insulation system provides an air-control function.
When should builders inspect insulation before drywall?
Builders should inspect insulation while the assembly remains accessible and before drywall conceals it. Complete required approvals and corrections, then recheck areas disturbed by later trade work.
Can one insulation specification cover every house model?
One specification can cover repeated assemblies, but different enclosure details need separate instructions. Review garages, dormers, sloped ceilings, attic access, and buyer options that change the conditioned boundary.
Can JC Home Care Center, Inc. install residential insulation locally?
JC Home Care Center, Inc. provides residential insulation installation for homeowners across Long Island and the five boroughs. Confirm the scope and project fit directly before selecting an installer for a production-building project.
What should a builder keep in an insulation closeout file?
Keep the final insulation schedule, approved substitutions, required inspection records, and relevant product documentation. Organize photographs and corrections by individual home so the record reflects what was installed.
One last thing
The most useful reference home is the one with documented concealed details. A finished model shows buyers the rooms, but it cannot show the air barrier behind drywall or the insulation around hidden obstructions.
For your 2026 build program, retain an approved photo reference for each repeated assembly. Pair it with the written acceptance criteria so a new crew can reproduce the intended detail without guessing.
Related guides
- Insulation planning for general contractors and remodeling crews
- How to seal air leaks before adding insulation
- Insulation guidance for energy auditors and home energy raters