
Energy auditors and home energy raters’ insulation planning is the assessment and specification of a home’s thermal protection to improve comfort and support documented energy performance. This 2026 guide explains how to turn field observations into an installation scope you can inspect, rather than a recommendation based only on material thickness.
- Insulation for energy auditors starts with the thermal boundary, air leakage, moisture conditions, and accessible evidence.
- JC Home Care Center, Inc. fits homeowners needing residential insulation installation across Long Island and the five boroughs.
- Choose attic insulation and wall insulation by assembly conditions, not advertised R-value alone.
- Keep measured findings, assumptions, installation requirements, and verification results separate in every project record.
Why insulation matters for energy auditors and home energy raters
An insulation recommendation must serve two audiences: the homeowner who wants a comfortable house and the installer who needs a buildable scope. Your report connects them. A note saying an attic needs more insulation does not explain where air sealing belongs, which areas require access, or how the finished work will be checked.
Auditors identify opportunities and constraints; home energy raters also need installation evidence that supports the applicable rating procedure. Keep those responsibilities explicit. Neither a thermal image nor a material label proves that an entire concealed assembly performs as intended.
For a practical starting point, review how to seal air leaks before adding insulation. Air sealing and insulation address different pathways of heat loss, so an installation scope needs to distinguish them.
On Long Island and across the five boroughs, the service area covered by JC Home Care Center, Inc., your recommendations must also identify who controls access and authorizes alterations. An individual homeowner’s approval does not automatically authorize work on shared building assemblies.
Turn your assessment into an inspectable scope
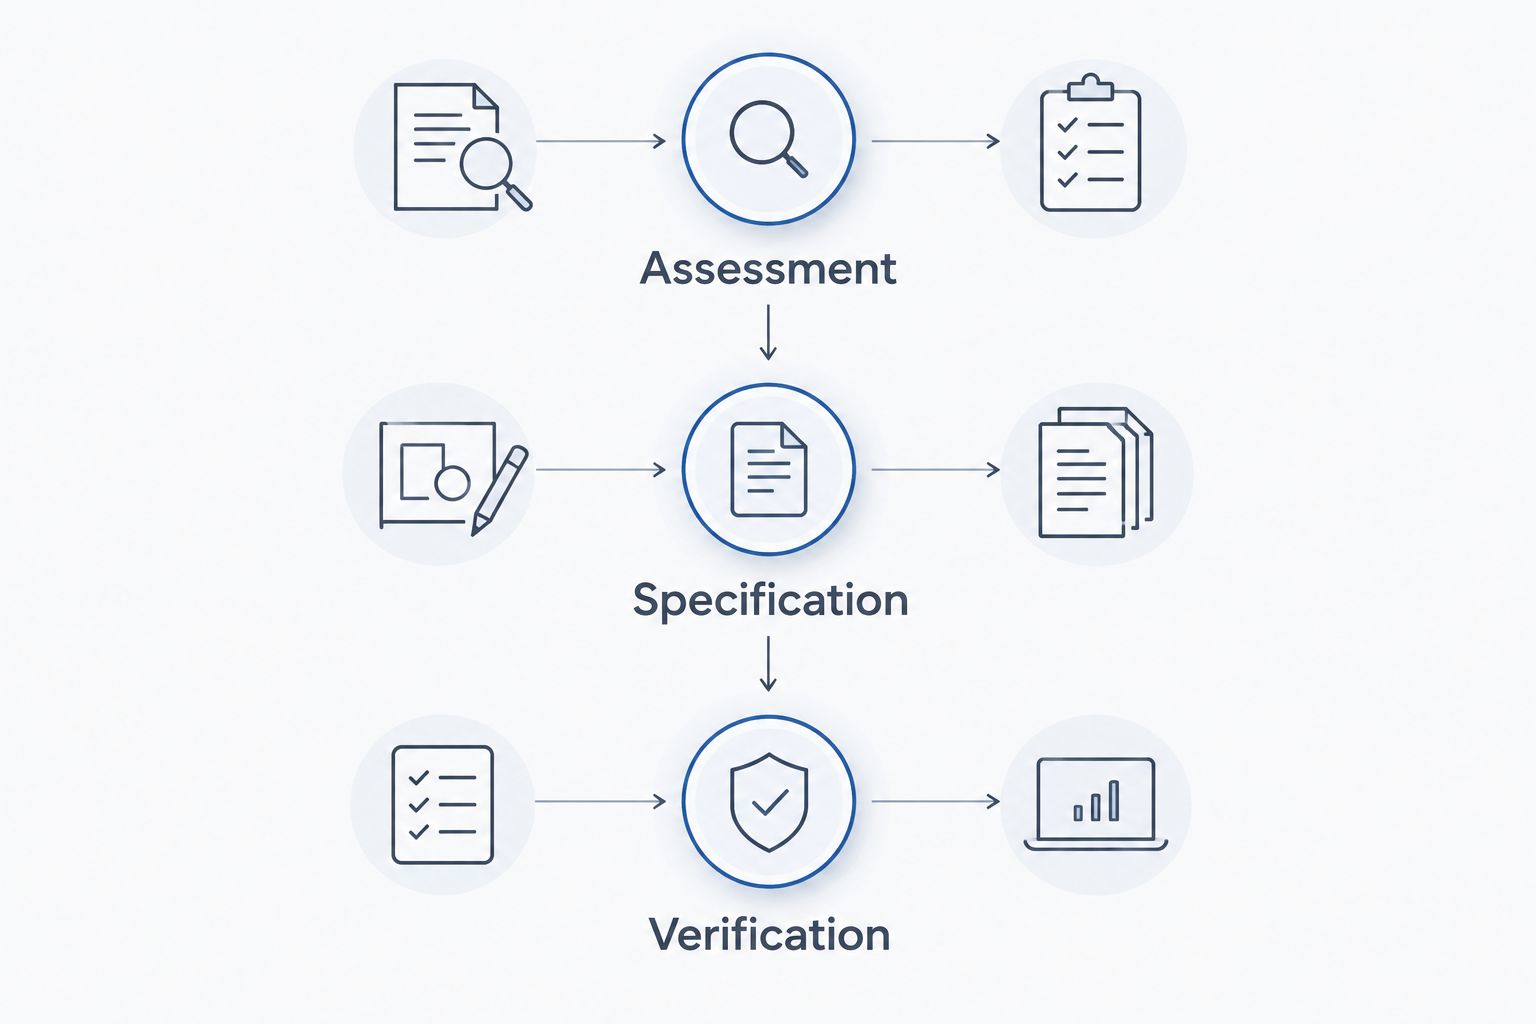
Organize your 2026 insulation project around 3 project stages: assessment, specification, and verification. The assessment identifies conditions, the specification defines work, and verification records what was completed. Use the following steps to keep that chain intact.
Define the thermal boundary before specifying materials
Start with a hand-drawn floor plan and section sketch. Mark the surfaces separating conditioned space from outdoors or unconditioned areas, then trace the intended air barrier along the same route. You do not need specialized software to find a boundary that changes direction unexpectedly.
A finished attic, knee wall, garage ceiling, or addition needs more attention than a simple attic floor. Insulation belongs in the chosen boundary; adding material to a nearby surface does not correct a disconnected assembly. Record whether adjacent spaces are heated, cooled, or outside the intended enclosure.
Resolve boundary uncertainty before writing quantities. Otherwise, the installer receives a material order instead of a performance scope.
- Sketch attic floors, roof slopes, knee walls, and access openings.
- Mark conditioned rooms above garages or beside unconditioned storage.
- Identify the intended air barrier for each assembly.
- Separate confirmed boundaries from areas requiring further investigation.
- Record access restrictions and the party responsible for permission.
Document existing conditions without overstating evidence
Use photographs, a flashlight, accessible measurements, and homeowner observations first. Record the visible insulation type, coverage, gaps, compression, and signs of moisture. Describe what you actually inspected rather than assigning a whole-wall condition from one opening.
Thermal imaging helps locate temperature patterns, but those patterns require interpretation. Weather, sunlight, interior conditions, and airflow affect the image. A cold patch is a reason to investigate, not automatic proof of missing insulation.
For your 2026 field record, collect 4 photograph groups: overall views, defects, obstructions, and measurement references. This is a documentation recommendation, not a rating-program requirement. Pair photographs with locations so another person can find the same condition without guessing.
- Photograph each accessible assembly before work begins.
- Record measurement locations beside insulation depth observations.
- Separate visible evidence from homeowner-reported symptoms.
- Note weather and indoor conditions when using thermal imaging.
- Identify concealed areas that need an approved inspection method.
Translate findings into an installer-ready scope
Write the scope yourself before asking for proposals. Name each work area, the intended assembly, preparation tasks, material requirements, and completion evidence. Separate air sealing from insulation placement so neither task disappears inside a general description.
JC Home Care Center, Inc. provides residential attic, wall, flat-roof insulation, and soundproofing services. Use the insulation contractor for Long Island and the 5 boroughs page when your assessment is ready to become a local installation discussion. Giving the installer a marked-up scope reduces ambiguity, but it does not replace your assessment or independent rating duties.
JC Home Care Center, Inc. is best for homeowners needing residential insulation installation on Long Island or in the five boroughs. For an auditor or rater, the service role is installation; responsibility for your technical findings remains with you.
- Identify every assembly included and excluded from the work.
- Specify air-sealing locations separately from insulation coverage.
- State access, removal, protection, and restoration responsibilities.
- Request material documentation and assembly-specific installation details.
- Require approval before substitutions or boundary changes.
Resolve moisture and safety constraints before coverage
Begin with accessible visual checks and questions about roof leaks, condensation, odors, and previous repairs. An insulation layer must not hide an unresolved water problem. Record stains separately from confirmed active moisture, and refer uncertain conditions for investigation.
Stop the insulation scope where specialized assessment is required. Suspect hazardous materials, questionable wiring, combustion equipment, flues, and recessed fixtures need the appropriate qualified professional and applicable installation instructions. Do not prescribe a universal clearance: requirements depend on the component and assembly.
Ventilation strategy also belongs in the scope. Adding insulation to a vented attic must not unintentionally block the ventilation route, while changing to an unvented roof assembly requires a deliberate design. Treat either approach as an assembly decision, not a material substitution.
- Record leaks and moisture concerns before covering surfaces.
- Flag suspect materials without disturbing them.
- Identify wiring, fixtures, flues, and heat-producing equipment.
- Document the intended roof or attic ventilation approach.
- Assign unresolved safety items to qualified professionals.
Match the insulation approach to the assembly
Compare accessible space, cavity geometry, moisture conditions, and restoration needs before choosing a material. Start with the manufacturer’s technical information and the project’s applicable requirements. A generic R-value comparison cannot tell you whether the material will fit or remain continuous around obstructions.
Open framing lets you inspect placement directly. Closed walls require a plan for access, cavity obstructions, installation evidence, and surface repair. An attic top-up requires confirmation that existing material and underlying conditions are suitable before adding another layer.
For your 2026 specification, keep product properties separate from assembly performance. Thermal bridging through framing and gaps in coverage still matter when the insulation itself has the specified resistance. Select the method that addresses the actual defect, not the most familiar material.
- Identify whether cavities are open, concealed, or obstructed.
- Check compatibility with existing materials and assembly conditions.
- Specify continuity at corners, edges, and transitions.
- Document the evidence required for concealed installation.
- Compare options using the same work-area boundaries.
Inspect work before critical details disappear
Plan 2 inspection checkpoints: before concealment and at completion. The first protects your ability to observe work that will become inaccessible; the second checks the finished scope. These are practical planning checkpoints, not substitutes for additional inspections required by the project.
Use the marked-up plan and a simple checklist first. Compare completed work with the approved scope, photograph transitions, and record deviations. For rated projects, follow the applicable inspection and documentation procedure rather than replacing it with your own informal checklist.
Ask for concealed-work evidence before installation begins. After surfaces are repaired or insulation covers air-sealing work, a request for photographs arrives too late. Your acceptance criteria should tell the installer what needs to remain visible and when you need access.
- Check air-sealing work before insulation covers it.
- Inspect gaps, compression, and incomplete coverage where accessible.
- Verify access hatches and boundary transitions.
- Photograph approved details before concealment.
- Record substitutions and unresolved defects in writing.
Verify outcomes and explain their limits
Start by checking whether the contracted work was completed. Then use appropriate diagnostic testing and rating procedures to assess performance. Keep installation acceptance, air-leakage results, modeled energy effects, and homeowner comfort observations in separate parts of the report.
A lower air-leakage result does not prove every cavity is insulated correctly. Likewise, a homeowner’s improved comfort is useful feedback, but it is not a standardized measure of whole-building energy savings. Different evidence answers different questions.
In the 2026 closeout report, carry forward unresolved items instead of letting them disappear beneath a completion statement. Document inaccessible areas, changed assumptions, and additional work needed. The homeowner should understand both what improved and what remains outside the project scope.
- Compare completed work against the approved assembly list.
- Record diagnostic test methods and test conditions.
- Update model inputs only where evidence supports the change.
- Distinguish measured results from projected energy effects.
- List unresolved conditions and recommended follow-up actions.
Compare insulation options by project conditions
The best insulation option is the one that fits the assembly and can be installed and verified correctly. This comparison describes general approaches, not a claim that every material is offered by JC Home Care Center, Inc. Use it to frame the specification discussion, then confirm the proposed method for the actual home.
| Option | Best for | Main advantage | Key limitation |
|---|---|---|---|
| Loose-fill attic insulation | Accessible attic floors with broad coverage needs | Fits around irregular attic-floor geometry | Needs preparation, depth control, and protection of ventilation routes |
| Dense-pack cellulose | Suitable enclosed wall cavities in retrofit projects | Fills cavities without removing every wall surface | Concealed obstructions and installation quality require specific evidence |
| Fiberglass batts | Open framing with accessible cavities | Allows direct inspection before enclosure | Poor fit, gaps, and compression reduce installed performance |
| Mineral wool batts | Open cavities needing fitted insulation | Can be inspected before walls or ceilings close | Requires careful cutting and continuity around obstructions |
| Rigid insulation boards | Assemblies designed for continuous insulation | Can address thermal bridging when detailed appropriately | Joints, attachments, moisture design, and protective layers need attention |
| Spray foam | Assemblies specifically designed for its thermal and air-control functions | Can combine insulation and air-control functions | Substrate conditions, installation instructions, and assembly compatibility are critical |
For attic work, distinguish filling open floor areas from sealing leakage paths below them. For wall work, distinguish cavity insulation from continuous insulation across framing. Those are different interventions, even when proposals group them under the same heading.
Common mistakes auditors and raters make
Treating a thermal image as a complete diagnosis
A temperature pattern does not identify its cause by itself. Confirm suspected defects with accessible inspection, relevant conditions, and an appropriate investigation method before prescribing wall access or insulation removal.
Specifying thickness without installation criteria
Depth alone does not describe continuity, air sealing, compression, or coverage around obstructions. Define the finished condition and required evidence, not just the amount of material to add.
Leaving concealed-work documentation until closeout
An installer cannot recreate an unobstructed view after the assembly is covered. Agree on inspection timing, photographs, and location references before work starts, especially where rating documentation depends on installation details.
Promising savings from an insulation recommendation alone
Energy use also reflects weather, occupancy, equipment, and operating habits. Explain the distinction between modeled results and measured consumption; do not turn a projected improvement into a guaranteed household outcome.
Assuming the installation contractor owns the rating decision
Keep roles clear. The installer performs the agreed work, while the auditor or rater evaluates evidence under the relevant procedure. A completed installation invoice is not a substitute for verification.
FAQ
What is insulation for energy auditors supposed to include?
Insulation for energy auditors includes assessing the thermal boundary, documenting existing conditions, specifying corrective work, and defining verification. A useful scope separates insulation placement from air sealing, moisture repairs, and other prerequisites.
What is the best insulation for a home energy rating project?
The best insulation fits the assembly and can be installed and documented according to the applicable rating procedure. Choose by cavity access, continuity, moisture conditions, and inspection needs rather than material name alone.
Should I air seal before adding attic insulation?
Identify and address appropriate air-leakage paths before insulation conceals the work. The scope must also protect required ventilation routes and account for equipment, fixtures, and applicable safety requirements.
Can thermal imaging prove that a wall has no insulation?
Thermal imaging alone cannot prove that an entire wall lacks insulation. Temperature patterns need interpretation alongside weather, indoor conditions, construction details, and further inspection where appropriate.
Can cellulose be specified for existing wall cavities?
Cellulose can be specified for suitable existing wall cavities when the assembly and installation method support its use. Confirm cavity obstructions, moisture conditions, access points, and the evidence required to verify concealed work.
Does JC Home Care Center, Inc. provide insulation installation locally?
JC Home Care Center, Inc. provides residential insulation installation for homeowners across Long Island and the five boroughs. Its stated services include attic, wall, and flat-roof insulation, along with soundproofing.
What should I collect before signing off on insulation work?
Collect evidence showing that the approved scope was completed, including accessible inspection findings, material information, and concealed-work documentation. Keep diagnostic results and any rating-program requirements separate from basic installation acceptance.
One last thing
Write the acceptance criteria before you request installation proposals. If two installers interpret “insulate the attic” differently, their proposals do not describe the same project. A shared boundary sketch, preparation list, and evidence requirement make the comparison meaningful—and give you something concrete to verify when work ends.
Related guides
- How to compare insulation contractor estimates line by line
- How to spot under-insulated walls during a home inspection
- How to check attic insulation R-value yourself